Label and annotate data
After you set up your project, configure your labeling interface, and import your data, you can start labeling and annotating your data.
Tip
If you have access to the Data Manager, before you begin, you can filter or sort the data.
If you are a Manager, you can enable Sequential Sampling for the project to ensure that Annotators see tasks in the same order in which they appear in the Data Manager.
Start labeling
How you begin labeling depends on 1) your role and 2) the project settings.
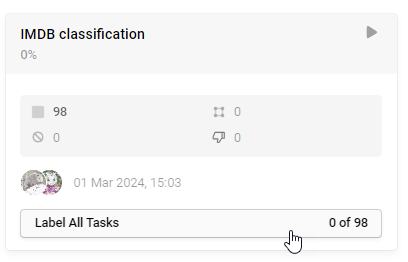
If you have the Annotator role, you can only begin labeling if the project has been published and you have been assigned tasks. In that case, you can enter the label stream by clicking Label All Tasks or Label My Tasks when viewing the Projects page.
Quick view–Manually select each task to label.
From the Data Manager list view, click a task to open the labeling interface.
(This is only an option if Manual task assignment is enabled and the project settings allow it. Otherwise, you can only see tasks you have already completed.)
Label stream–As you finish each task, you move on to the next task automatically. You are shown all incomplete tasks within the project.
From the Data Manager, click Label All Tasks to enter the label stream. You are also shown additional navigation actions such as Skip (if enabled by a project manager) and Save and Submit.
Administrators and Managers also have the following options:
Label stream with a filter applied–Similar to the label stream, but you are only shown the incomplete tasks that are visible in the Data Manager.
First, apply a filter using the Data Manager. Then click the drop-down arrow next to Label All Tasks and select Label Tasks as Displayed.
Label stream for selected tasks–Similar to the label stream, but first you select the checkboxes next to the tasks you want to label.
When one or more tasks are selected, click Label n Tasks at the top of the Data Manager.
Label a region
Click on a label and then click on the text/image/video/other data to begin labeling. They type of tools available to you depend on the labeling configuration.
For more information, see Label regions.
Reset an annotation
You can reset your working copy of an annotation by clicking the reset action at the bottom of the labeling interface:

Resetting an annotation removes all regions and relations in your working copy. It does not affect comments and does not affect the annotation history.
Resetting only affects work done in the current working copy of the annotation and does not affect work that has been previously saved as a draft.
For example, if you add a region, leave the task (automatically saving a draft), and then return to the task, clicking Reset does not remove the region you previously added.
However, if you add a new region, the new region becomes part of your working copy. Clicking reset would remove this region.
Delete an annotation
When you delete an annotation, you delete everything that is included with the annotation - labels, regions, comments, drafts, etc.
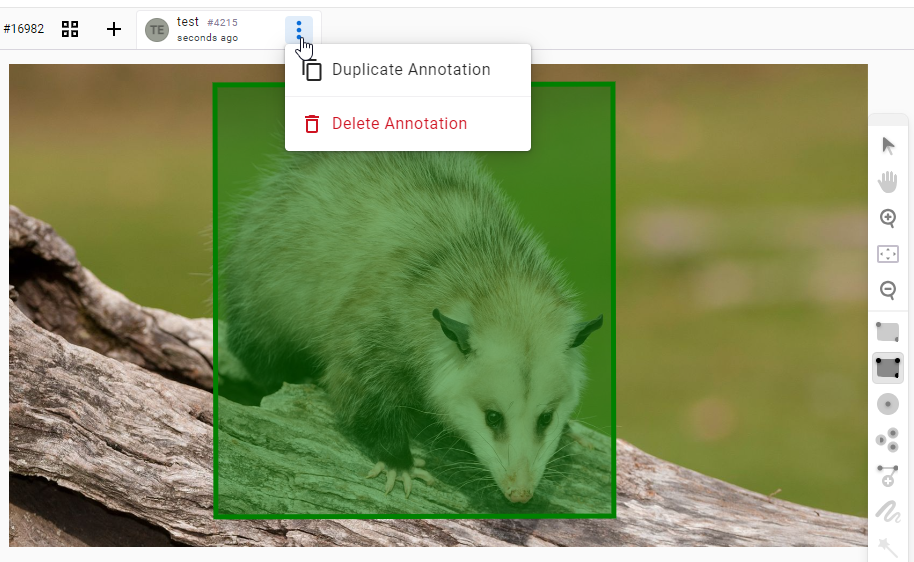
- From the Data Manager, click a task to open it in Quick View.
- Click the overflow menu next to the task ID that appears above the task.
- Select Delete Annotation.
To delete all annotations across all tasks, use the Actions menu available from the Data Manager.
note
This action is not available to users in the Annotator or Reviewer role.
Label with collaborators
In both Label Studio and Label Studio Enterprise, you can label tasks with collaborators. Tasks are locked while someone performs annotations so that you don’t accidentally overwrite the annotations of another annotator. After the other annotator finishes with the task, it can appear in your queue for labeling if the minimum annotations per task is set to more than one. By default, tasks only need to be annotated by one annotator.
If you’re using Label Studio Enterprise and want more than one annotator to annotate tasks, update the project settings. After you update the minimum annotations required per task, annotators can use the Label Stream workflow to label their tasks.
If you want to label tasks more than once, even if the minimum annotations required is set to one, do the following:
To label tasks multiple times while the minimum annotations required is set to one, do the following:
- In the data manager for the project, click a task to open the quick labeling view.
- Click the
+icon next to the task annotation ID to open an annotation tab. - Label the task.
- Click Submit to save your annotation.
- Click the next task in the data manager to open the quick labeling view for that task and repeat steps 2-4.